Automating Storj Setup
on ansible, storj, automation
I recently tried running Storj and was quickly confused. The Github repo includes instructions for installing Storj on the command-line, but it never explains how to actually run it.
I found the official step-by-step guide and was horrified to discover that it’s an absurdly convoluted 9300+ word treatise covering a million different scenarios that are irrelevant to 98% of readers.
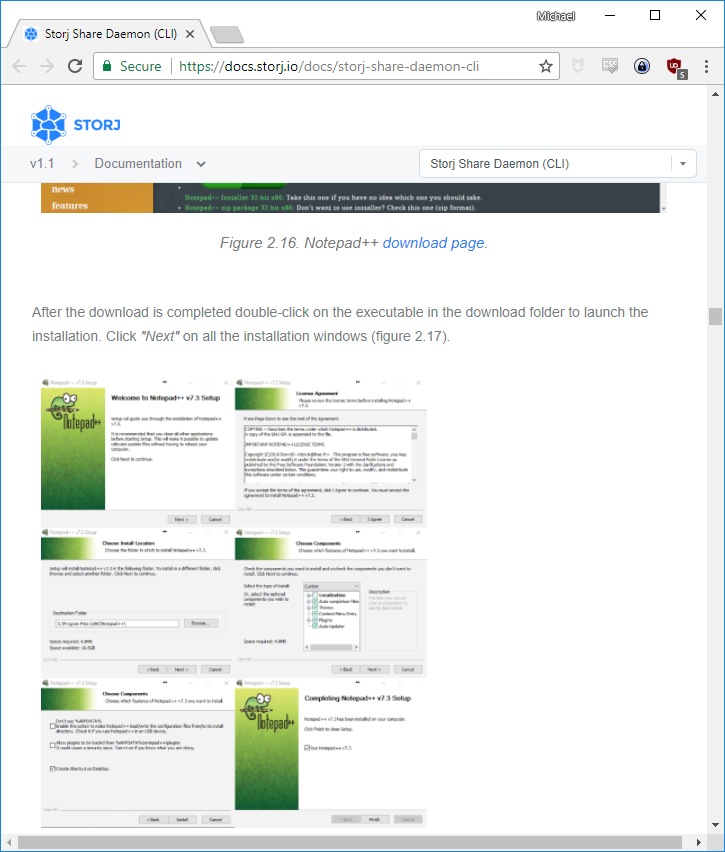
Think I’m exaggerating? The command-line guide shows seven screenshots explaining how to install a graphical text editor:
Apparently, the guide is aimed at the rare user who’s comfortable enough on the command-line to eschew the Storj GUI client but is also so clueless that they don’t know how to install or use a text editor.
Simplifying installation
Why does running Storj have to be so complicated that it requires a 9300-word guide? As the user, what do you really need to tell Storj to get going? A pretty small set of information:
- Your Storj payment address
- How much storage you’re willing to share
- Where to put the data
- Which port to listen on
So I wrote a tool that lets you specify just that information and spin up a Storj farmer node. It’s called ansible-role-storj.
What is Ansible?
Ansible is a lightweight server configuration tool. It allows you to define a sequence of actions on any major OS.
You can use Ansible to configure your local machine, a remote server, or many remote servers at once.
Ansible is easy to install on any major Linux distribution. Here are the install steps on an Ubuntu/Debian OS:
sudo apt-get update \
  && sudo apt-get install python-pip -y \
  && sudo pip install ansible
The Ansible Storj role
In Ansible terms, a “role” is essentially a template for installing an application.
The Storj role automates all of the following:
- Installing all of Storj’s dependencies
- Version upgrades/downgrades
- Spinning up farmer nodes
Using the Storj role, you can provision many farmers at once. Farmers can be spread out across multiple machines or they can all be on the same machine.
Installation
To install the Storj role, use Ansible Galaxy (included by default when you install Ansible):
sudo ansible-galaxy install mtlynch.storj
Examples
Here are some examples of what you can do with ansible-role-storj:
Example 1: Set up a Storj farmer on the local machine
I’ll start with a simple example. The commands below install Storj on the same machine from which you’re running Ansible:
# Replace with your own Storj ERC20 address
PAYMENT_ADDRESS="0x161441Efd42171687dd1468A9e23E74226541c38"

# Create a minimal Ansible playbook to install Storj
echo "---
- hosts: localhost
  vars:
    storj_farmer_configs:
      - payment_address: \"$PAYMENT_ADDRESS\"
        rpc_port: 6000
        share_size: 1GB
  pre_tasks:
    - uri:
        url: http://whatismyip.akamai.com/
        return_content: yes
      register: external_ip
    - set_fact:
        storj_farmer_default_rpc_address: \"\"
  roles:
    - { role: mtlynch.storj }" > install.yml

# Run the playbook locally.
sudo ansible-playbook install.yml
The video below demonstrates these commands running on a Google Compute Engine server:
Example 2: Set up multiple Storj farmers on a remote machine
This example installs Storj on a remote machine using multiple farmers, each with independent payment addresses and storage directories:
# Replace with your server's IP or hostname.
STORJ_SERVER="1.2.3.4"

# Replace with your own Storj ERC20 addresses
PAYMENT_ADDRESS_A="0x161441Efd42171687dd1468A9e23E74226541c38"
PAYMENT_ADDRESS_B="0xe2c1042ae7192dcae902cffe67a30c7f2c8b2e1b"

echo "storj-server ansible_host=\"${STORJ_SERVER}\"" > hosts

# Create a minimal Ansible playbook to install Storj
echo "---
- hosts: all
  become: True
  become_method: sudo
  become_user: root
  vars:
    storj_farmer_configs:
      - payment_address: \"$PAYMENT_ADDRESS_A\"
        rpc_address: \"$STORJ_SERVER\"
        rpc_port: 6000
        storage_dir: /mnt/path1
        share_size: 5GB
      - payment_address: \"$PAYMENT_ADDRESS_B\"
        rpc_address: \"$STORJ_SERVER\"
        rpc_port: 6001
        storage_dir: /mnt/path2
        share_size: 1GB
  roles:
    - { role: mtlynch.storj }" > install.yml

# Run the playbook.
ansible-playbook install.yml -i hosts
When the playbook completes, you can check the status remotely using storjshare status:
$ ansible all --inventory hosts --module-name command --args "storjshare status"
storj-server | SUCCESS | rc=0 >>

┌─────────────────────────────────────────────┬─────────┬──────────┬──────────┬─────────┬───────────────┬─────────┬──────────┬───────────┬──────────────┐
│ Node                                        │ Status  │ Uptime   │ Restarts │ Peers   │ Allocs        │ Delta   │ Port     │ Shared    │ Bridges      │
├─────────────────────────────────────────────┼─────────┼──────────┼──────────┼─────────┼───────────────┼─────────┼──────────┼───────────┼──────────────┤
│ a89d2d31de737f4a7f2879eb3e1da0cbc7846f43    │ running │ 12s      │ 0        │ 6       │ 0             │ 16ms    │ 6000     │ ...       │ connected    │
│   → /mnt/path1                              │         │          │          │         │ 0 received    │         │ (uPnP)   │ (...%)    │              │
├─────────────────────────────────────────────┼─────────┼──────────┼──────────┼─────────┼───────────────┼─────────┼──────────┼───────────┼──────────────┤
│ bbfafb3dddc20ac76dc1766357401e2ed91d6f9b    │ running │ 10s      │ 0        │ 135     │ 0             │ 15ms    │ 6001     │ ...       │ connected    │
│   → /mnt/path2                              │         │          │          │         │ 0 received    │         │ (uPnP)   │ (...%)    │              │
└─────────────────────────────────────────────┴─────────┴──────────┴──────────┴─────────┴───────────────┴─────────┴──────────┴───────────┴──────────────┘
The video below demonstrates these commands running against a bare Ubuntu 16.04 server on Google Compute Engine:
A brief rant on Storj
Storj is really unfriendly to automation. While writing this Ansible role, I got the strong sense that the Storj developers put most of their effort into the GUI and didn’t pay much attention to command-line scenarios.
Here are some examples:
Storj doesn’t set the exit code on failure
Most Linux applications set a failing exit code when they exit due to error. Storj doesn’t, so I can’t tell whether a command succeeded unless I parse Storj’s output.
But then I’m still stuck because Storj doesn’t print “fail” in the output for every failure, like with this error message for invalid syntax:
no payment address was given, try --help
So that means that to determine whether a command succeeded or failed, I have to know every possible error message Storj can produce.
And even then, I still have trouble because…
Storj writes output inconsistently
For some commands, Storj writes error messages to stdout. For others, it writes error messages to stderr.
See for example the following two calls to storjshare create. In the first case, Storj writes the error message to stderr:
$ storjshare create --noedit --outfile /tmp/a.json 1> /tmp/stdout-output.txt 2> /tmp/stderr-output.txt
$ cat /tmp/stdout-output.txt
$ cat /tmp/stderr-output.txt

  no payment address was given, try --help
In a very similar case, Storj writes the nothing to stderr and instead writes to stdout:
$ storjshare create --noedit --outfile /notexists/a.json --storj "0x0000000000000000000000000000000000000000" 1> /tmp/stdout-output.txt 2> /tmp/stderr-output.txt
$ cat /tmp/stdout-output.txt

  failed to write config, reason: ENOENT: no such file or directory, open '/notexists/a.json'
$ cat /tmp/stderr-output.txt
The config files are all sorts of awful
Where do I begin with the config files? I could write a whole blog post about how hard they are to deal with.
First, every farmer needs its own, separate config file. And then the daemon needs its own separate config file. About half of the settings in the config file, like log verbosity or external IP, make a lot more sense on a per-system basis than a per-process basis. Splitting everything into separate files adds complexity that doesn’t need to be there.
Next, the config files are in a custom format that’s almost JSON but isn’t.
Real JSON would be bad enough because it’s unnecessarily error-prone to edit by hand. For example, this is what the end of the Storj farmer config file looks like:
  // Valid units are B, KB, MB, GB, TB
  "storageAllocation": "5GB"
  // Max size of shards that will be accepted and stored
  // Use this and make this lower if you don't have a strong internet connection
  // "maxShardSize": "100MB"
}
What happens if I uncomment the maxShardSize line? Whoops, now my config file is invalid because I forgot to add a trailing comma to the storageAllocation line.
Also, did you notice those // comments? Those are not valid in JSON, which means that if you try to read these files using a real JSON library, everything blows up:
$ python -c "import json; print json.load(open('/opt/storj/configs/0x161441Efd42171687dd1468A9e23E74226541c38.config'))"
Traceback (most recent call last):
  File "<string>", line 1, in <module>
  File "/usr/lib/python2.7/json/__init__.py", line 291, in load
    **kw)
  File "/usr/lib/python2.7/json/__init__.py", line 339, in loads
    return _default_decoder.decode(s)
  File "/usr/lib/python2.7/json/decoder.py", line 364, in decode
    obj, end = self.raw_decode(s, idx=_w(s, 0).end())
  File "/usr/lib/python2.7/json/decoder.py", line 380, in raw_decode
    obj, end = self.scan_once(s, idx)
ValueError: Expecting property name: line 2 column 3 (char 4)
So these files are not friendly to human editing or programmatic editing.
Even though the config files look straightforward enough, I can’t generate one myself. It includes the field networkPrivateKey, which requires me to supply a key that I don’t know how to generate or format unless I dive into the Storj implementation.
There’s also no way for me to determine what configuration was used to launch a farmer node. I can’t query a running farmer’s settings, so the only way to ensure that a farmer is running the latest configuration file is to kill it and relaunch it.
But even that is unnecessarily hard because storjshare manages farmer nodes by node ID, but the node ID is not discoverable from the config file. Supposedly the node ID is derived from the networkPrivateKey field, but the exact method is not documented.
So, the best option I’m aware of to discover which config file corresponds to which farmer node is to:
- Parse the config file (using a custom parser that understands the almost-JSON format)
- Find the
rpcPortfield - Run
storjshare status - Parse its output out of the crazy, overly-formatted table it prints
- Find the entry in the table whose port matches
A pretty unreasonable number of steps just to figure out the farmer node associated with a config file.
And other annoyances
- Storj doesn’t have a documented API for management, so the best you can do for automation is call its command-line utilities.
- It’s difficult to verify that you’re farming successfully with Storj. Your best option seems to be to wait several days to see if you receive any data shares.
- Storj only works if its background daemon process is running, but it’s not a proper Linux service so you can’t manage this daemon using standard Linux utilities.
- Storj prints its output in a highly-formatted table, which makes it hard to consume the output using standard Linux utilities.
Okay, I’m done ranting now.
Open Source
ansible-role-storj is fully open-source and available on Github:
https://github.com/mtlynch/ansible-role-storj
Support
ansible-role-storj currently supports installing Storj on Ubuntu/Debian flavored OSes.
I don’t plan to add support for other OSes, but I will happily accept pull requests if anyone would like to implement this.